Homemade Laundry Detergent

My family has sensitive skin, my son the worst of us all. I’m the type of person who can’t put any form of chemicals on my legs for at least a full day after shaving. This includes swimming in a pool, hot tub, lotion, get a pedicure, etc. And back when my husband and I were newlyweds he worked two jobs, one of which required his face be clean shaven. Him shaving that often shredded his poor skin. And my son had an eczema outbreak that was so bad it looked like he had hives all over his entire body. The poor baby’s first birthday pictures had his skin all red and bumpy from his chest to his knees. (Looks like my daughter has escaped the sensitivity so far!)

Because of the sensitive skin in my household we stick to detergents that have no fragrances or dyes (free & clear). I hate paying so much for name brands, yet the cheaper brands were just that: cheaper. I felt like I had to use more of the cheap soap, which lessens the numbers of loads in each container, which defeats the purpose of it being “cheap.”

Entering now, the purpose of this post: Homemade Laundry Detergent. I browsed online, hunted and hunted, and finally found this recipe I wanted to try.

Supplies Needed:

1. One box (76 oz.) Borax
2. 1 Box (55 oz.) Super Washing Soda
3. 1 box (4 lbs) Baking Soda
4. 2  (400 g) bars of Zote Soap (or 3 bars of Fels Naptha Soap) (.97 ea.)
5. 1 tub of OxyClean (I used the kind without dyes with the green lid)
6. Optional for scent: 1 container of Downy Unstoppables. I left this out. It’s about $5.

Additional Supplies/Tools:

1. One 5 gallon bucket and lid to mix this all up inside.
2. Cheese grater or grater blade as well as a multipurpose blade in a food processor.
3. Large bowl to set shredded soap aside in.
4. Airtight container to store your detergent in.
5. 2 Tablespoon scoop (or a coffee scoop. I found one for $1, or you can use the scoop from the OxyClean tub but you’ll have to keep an eye on scooping the correct amount.)

Instructions:

Start out by grating your Zote (or Fels Naptha). I used the medium grade, not the itty bitty, not the regular size. Once that is completed, put a couple cups of that in your food processor, add a bit of the baking soda (less than a cup or so?), then grate until its a powdery pink mixture. Continue this until you’re out of Zote then pour it all into the 5 gallon bucket or trash bag.

Add the rest of your ingredients. Snap the lid on tight (or twist the bag shut) and shake it all together. If you are using the Downy Unstoppables, do so now so they’re mixed in, too.

Fill your airtight container and leave the scoop inside. Voila! You’re done. Leave the rest of the detergent sealed up in your laundry room or garage, or give it away if you like!

To use, just add one scoop (2T) to your wash. I have a front loader and I have read you can either put it in the little tray up top or inside the drum and both work just fine. I usually put it in the drum because sometimes it gets gelled up in the dispenser tray, which eventually flushes clean but that bothers me so I just toss it in with the clothes.

My only complaint was that I do not have the grater blade for my food processor and the grating was a pain.

Otherwise, this was a fun little project! It made my kitchen smell good and with all the costs it comes to $0.10 per load! I’m seriously considering giving this in mason jars as gifts to my neighbors at Christmas but I can’t decide if that’s lame or not. Ha ha! (Edit: I totally forgot to do this. Maybe next year? Ha!)

Have you made detergent before? What variations in your “recipe” did you have?

Update: It’s now January (6 months or so since I made this) and I have yet to refill my jar on my washer. I have had zero problems whatsoever with this recipe. No weird clumps of powder or residue or discoloration on the clothes. My HE front loader has been working just fine, too. I love this stuff. To make this once a year (or less, at this rate) is fantastic to me.

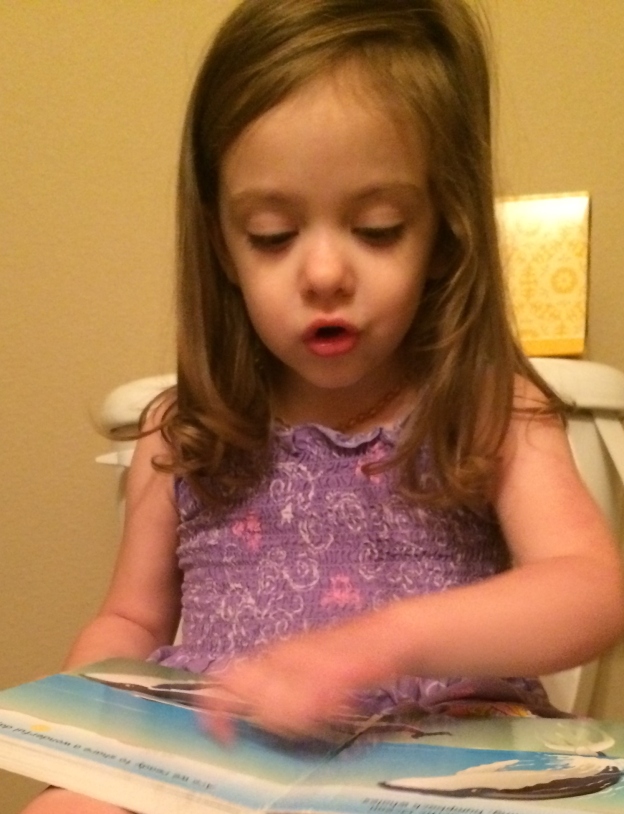
Our First Potty Experience


Potty training. Those two words can be so scary to parents who have never taught it before, and I was one of those parents. Part of me was SO sick and tired of having two diapered butts to clean every day, but the other part of me thought, but at least I know where the potty bits are when they’re in a diaper.

So a few weeks ago, Friday rolls around and the husband and I are ready to give it a go (ha, pun…). The day before we had been telling L that she was going to be a big girl tomorrow and have big girl underwear and no more diapers because those were for babies. She wakes up, we put underwear on her, and so the day begins. I started to keep score on L versus the couch or carpet but I very quickly lost count. And Linnea was definitely winning. There was lots of crying and accidents throughout the day. It was really difficult. But we had three successful trips to the bathroom so that was encouraging.

By the second day, Saturday, she was slooowly starting to understand the idea. I remember so clearly the moment the light bulb appeared over her head and she “got it.” She watched herself tinkle and she gasped and looked at me with huge eyes and squealed, “I did it! I went potty!” Things got much better from there.

By the third day we took her to church and put her in a Pull-Ups. We call them “shorts” so she knew they weren’t quite like a diaper. I never wanted to use Pull-Ups, but here we are. So much of parenting is like that, isn’t it? Before L was born and we found out we were having a girl, we were very adamant about not wanting “Princess” things, mainly because of the snotty attitude that can sometimes lead to. Fast forward to a 2.5 year old L who calls herself, “Princess Linnea” all on her own. But, all that to say, she actually prefers underwear because they are more comfortable.

I’ll give you the basics of our method, but there are tons of posts out there in Blogland that you can find on how to potty train. If you need more info than I list below, check out this, this, and this last one is pretty funny and realistic.

  1. Explain to your little one what you will be doing in advance.
  2. Make a ceremony of saying goodbye to the diapers. (Note: we couldn’t do this because our son is still in diapers, but I wanted to do this so she saw her diapers go away.)
  3. Have LOTS of clean undies ready to go. Feel free to take your child to pick them out. I think we have 13 pairs and we still did a lot of laundry from all the accidents. Strangely, my daughter prefers the Garanimals undies over her Disney Rapunzel undies. Go figure. I found them in a 10-pack at Walmart.
  4. Reward system: I hate bribing my kids to do what I ask but this is a situation where it’s necessary. We just did M&Ms, one or two each time she went potty. Now we only offer them if she goes #2 in the potty. Some parents offer sticker charts or a prize basket of little things to choose from. All work fine, but M&Ms were easy and worked for us.
  5. Have all the equipment- We opted to use the potty seat that you set on the regular toilet with a stool. I wanted to avoid yet another transition from a potty chair to the actual toilet. (If you have a 2-story, have a set for upstairs and downstairs.)
  6. Skip the pants! Just have them wear a shirt and undies. Add pants later on in the training, but you want the first few days/week to be as easy as possible for everyone. (Read: a few less things for the laundry) We did this during the summer so she wasn’t cold at all. Slept without pants, too.
  7. Take them potty every 10 minutes. She would go stretches of hours with a dry diaper, but for some reason without the diaper she was going every 10 minutes. Within a few days she would be able to hold it for hours on her own again. Just be patient.
  8. Be ready to ask, “Do you need to go potty?” a gazillion times. I think that’s all my husband and I said around eachother until the kids were in bed. Our neighbors were probably sick of hearing us with the open windows.
  9. Clear your schedule, if possible. If you can do the first few days on your weekend, preferably with a spouse or friend helping, that makes a big difference. Especially if you have other children!
  10. Do NOT limit liquids. More liquids = more potty = more practice!
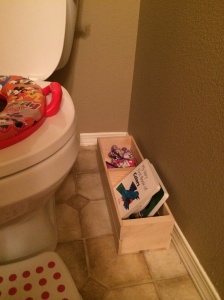
  11. We kept all of her underwear by the toilets in these little wooden CD crates. One side was for undies and flushable wipes, one was for books.
  12. If you have a girl, make sure you wipe well. L got a UTI so that threw a wrench in our potty training.

One last thing to note at the end is we are still having accidents. Some days are fantastic, some days it feels like she forgot what she’s doing. For instance, this morning she ran up to me with her legs all wet and she was standing in a puddle. It happens, but don’t give up. Also, we still do Pull-Ups at night. We really need to drop that habit because it’s a bad one to keep up.

What are some other tips and advice you would give on potty training! My daughter was almost 3 when we did this. She showed many signs of being ready (holding her bladder for a long time, showed interest in using the toilet, discomfort when she soiled her diaper, etc). I would like advice on getting her to go #2 in the potty. Weeks into this and she STILL doesn’t want to do it, she’s only succeeded in doing it twice. It’s very gross and frustrating.

training
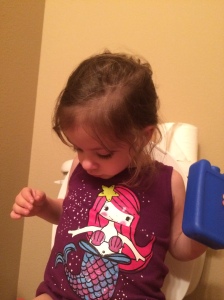
The moment the “Light” when on for her. Yes, she’s holding an ice pack. I don’t know why.

image
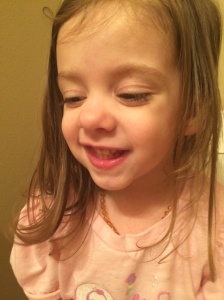
“Mama! I go potty!”

image
Our little set up. Nothing fancy, but it worked well for us.

Where?

I apologize for not being around the past few weeks. It’s been extra busy around my household. We a a house guest stay with us for about three weeks (while potty training!!), then we went out to the coast for my daughter’s 3rd birthday, and my Father in Law came to visit. It has been nutty but SO much fun.

We went to the Washington coast town of Ocean Shores and stayed at a friend’s family cabin. My mom, father in law, and my brother and his wife all joined us. We played games, had birthday “cake-cakes” (pancakes), and opened gifts out there. I also attempted to make cake pops for the 2nd time, and I am now ditching the cake pop maker in favor of plain old cupcakes from now on. I tried jumping on that band wagon and got frustrated and disappointed both attempts. I can’t mess up cupcakes, and they’re easy and delicious so I’m not too upset.

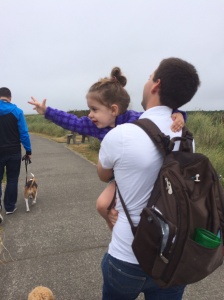
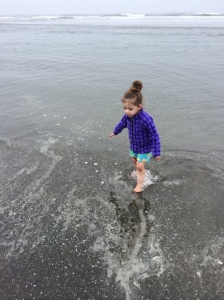
When we first got to the beach and we were all walking towards the sand, my kids didn’t understand where we were going. They had never seen the ocean, or sand, except for on TV and that hardly helps. As soon as my daughter glimpsed the waves, her eyes got huge, she pointed and yelled, “Mama! The ocean!!”

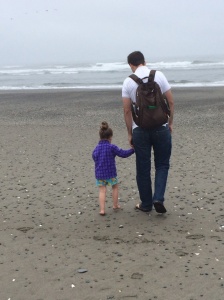
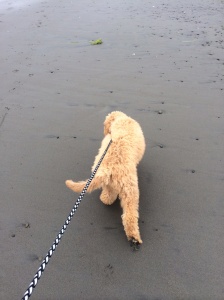
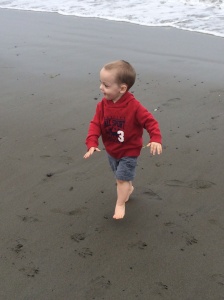
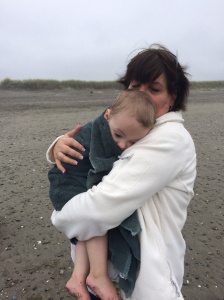
Once on the sand, my son took off and didn’t stop running for an hour and a half. He loved every bit of it. If he fell in the water it appeared that he hardly noticed, he just kept exploring. My daughter wasn’t sure of the sand because, “Mama my toes are dirty. There’s dirt on my feet. Yuck!” Us adults smiled and told her it was fine and the more we ignored the “dirt” the better she was about ignoring it, too. The waves made her nervous because they were loud. As we walked down the beach a ways the waves got calmer and quieter and she was running around in the freezing Washington water. We collected whole sand dollars, ran around with our 3 dogs (ours, my mom’s, and my brother and his wife’s dog), and had a blast. Once we turned around and made it back to our pile of towels and toy buckets we saw both of my kids were wet, shivering, and exhausted. We bundled them in towels and ran back to the house where we ate lunch and opened presents.

The weekend was wonderful. It was just what we wanted. Low-key and family oriented. Next week we will have the party in a local park with her little friends. We didn’t reserve anything at the park, so I’ll be getting there bright and early to set up and snag a table near the playground. I’ll be taking pictures of the party and will have links to some printables I used. Until then, here’s some photos of our weekend!


image


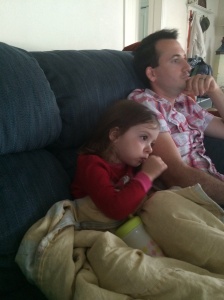
Cuddling with daddy before bed.

image


Birthday cake-cakes!

image


“Mama, the ocean!!”

image


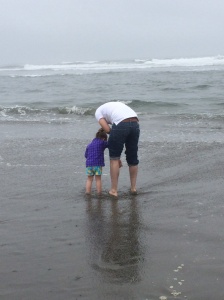
Daddy leading her to the water.

image


Grandpa showing Little Man the water.

image


Elsa puppy loved the beach.

image

He didn’t stop running the whole time!

image

Watching their feet sink in the sand.

image


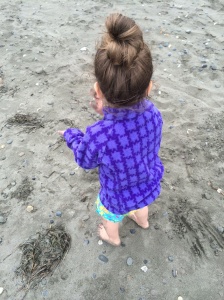
Getting over how sand is yucky. Haha.

image

image

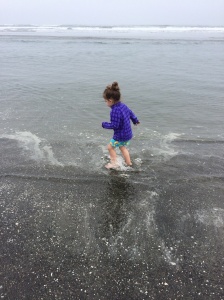
She loves the water now!

image

Shivering and tired, he snuggled into my mom and fell asleep on the walk back to the car.

image

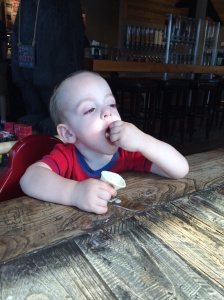
He takes his frozen yogurt very seriously.

image


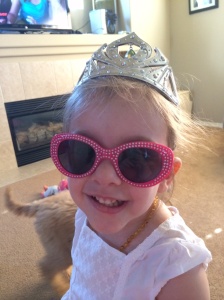
Showing off her accessories. Happy birthday baby girl!

A “Handy” Post

I enjoy foaming hand soap, but hate the price tag. Usually I go to Bath & Body Works at their semi-annual sale and get a variety of scents. But because it foams, it runs out SO much faster. I’ve seen online and on Pinterest that some people use baby wash to refill. That idea really bothers me. Why use a soap that is only going to make your hands look clean?
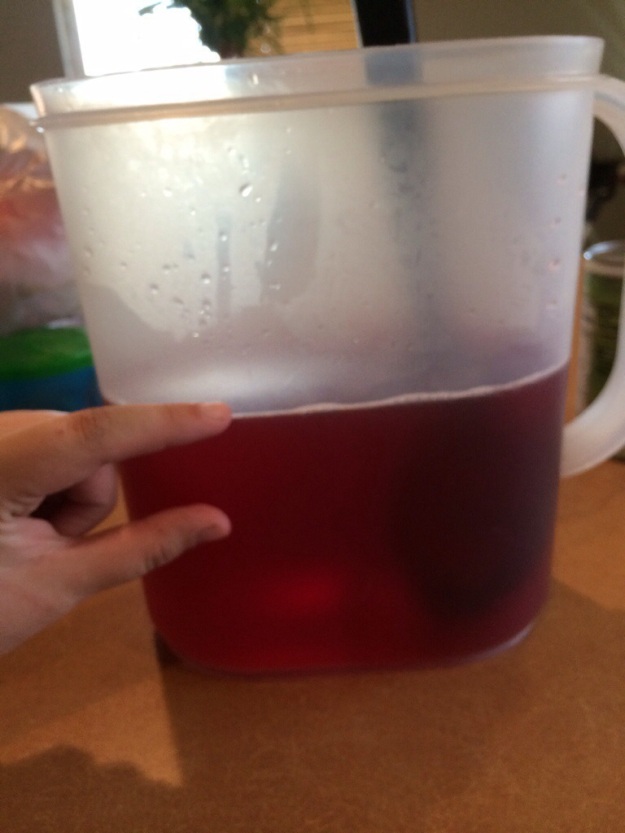
Here is what what I use.

Soap


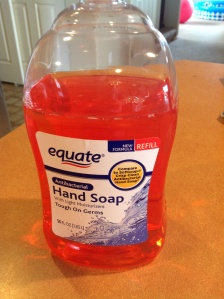
Cheap store brand refill.

image

Squirt in about a half an inch or so, depending on what consistency you want. Mine changes every time. Haha.
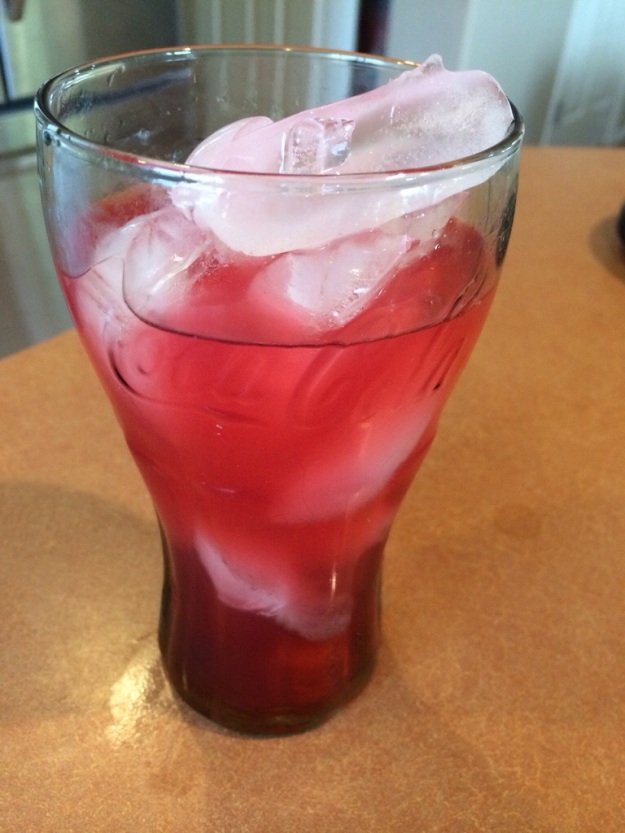
Then get your tap running with HOT water. Put a little water in and swish it around (shaking makes it foamy and you run out of room!). Add more water, swish, water, swish. Once you’re filled up put your lid on and you’re done! Edit: When adding water to the soap it would foam up a lot and I didn’t like that a lot of the foam went down the drain. I filled most of the bottle with hot water then added the soap in second. Put the lid on, then swished it. Mixed up just fine and this is how I’ll be doing it from now on. 🙂 It’s really just a preference.
It doesn’t smell as fancy as B&BW but I think it’s just dandy. And, it’s antibacterial so it’s safe to use all around your house. I’ve even had people over who asked what scent it was and they loved that it was just basic hand soap. It also is more fun for my kids to use because it’s already bubbly.
DIY Birthday Shirt {Mickey Style}

My son will be turning two this September and I was torn between doing a Mickey party or a Winnie the Pooh party. I have SUCH cute ideas for both…I should be a kids birthday party planner & decorator. {Seriously. If you have a theme idea I can help you put together a party. I LOVE it!}

After asking him which he wanted and not really getting an answer, asking my husband and him saying both would be fine, I opted to ask my daughter. “Should Jonah have a Mickey party or a Pooh party?” At first she wanted Mickey, then Pooh, then I asked her a couple more times and she helped me decide on Mickey. And she also started talking about cake and ice cream and how she wants a Frozen party. {Saving those ideas for another post}

I have plenty of party decoration ideas that will be posted in a collection but today I’ll be showing you how I made his party shirt.

Supplies Needed:
1. Shirt
2. Fabric paint
3. Freezer paper
4. A paint brush of some kind. Preferably foam.
5. X-acto knife
6. Iron, ironing board
7. Something to put between layers of the shirt

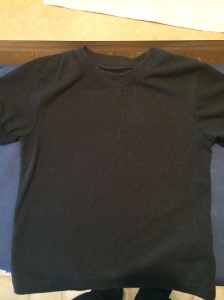
First, get a shirt. I got a plain black Garanimals t-shirt from Wal-mart for $3.88. Wash and dry your shirt to get the sizing off and preshrink it.

image

Either get fabric paint or fabric paint medium. I got the Martha Stewart fabric paint medium because I knew I already had white acrylic paint at home and didn’t want to buy an entire bottle of it for this one project. I used a coupon so it wasn’t quite as expensive.

image

I found a Mickey head template on Google, copy and pasted it into a Microsoft Word document, and resized it until it was about the size I needed, then printed. I also printed a large number “2” and put it in a bold font and had that print out with the Mickey silhouette.

Get a piece of freezer paper, place it over your Mickey and age number, and trace them.

Use your knife and carefully and slowly cut out your shapes as close to your lines as possible. Be sure to protect your table top!

image

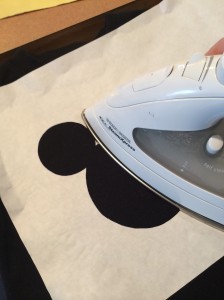
Position your Mickey head on the shirt where you would like it- be sure to make it centered or it’ll look funny. Iron the freezer paper on with the shiny side DOWN with NO steam.

image

Then, position the number in the center of the head and iron that on as well.

image

Mix up your paint medium (1 part medium to 2 parts paint. I just used a tablespoon to measure) or get your fabric paint. I would recommend a sponge “stamper” kind of brush. I just used a small paint brush and I didn’t like how it went on. It left brush strokes if you weren’t watching. I also think because I used a brush it led to some bleeding of paint under the stencil from the brush “pushing” the paint under the edge. So use a sponge brush and work your way in from the edge and don’t push the paint under.

Be sure to place something between the layers of the shirt in case the paint bleeds through. I used an empty cereal box.

Here’s the first coat (still wet).

image

And here’s the second coat. Let it air dry 24 hours.

image

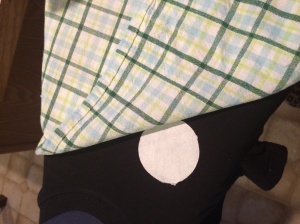
Remove the freezer paper (if you want to reuse your design be careful to not rip it!!) then place a piece of thin fabric over the dried paint design and iron it, I used a clean thin kitchen towel. This is called “heat setting” your paint.

image

See where it bled a little on his ear? Boo. But this is the worst of the bleeding so it wasn’t TOO horrible.

Now it is safe to wash and dry, but make sure it’s turned inside out and wash in cold water and try not to dry it for too long. This will help your design last longer.

image

I know this isn’t a fancy shirt but it’s exactly what I wanted. Pardon the awkward photo, I have to hide it from my kids and this photo was taken while it was air drying on top of my dyer.

He’ll be wearing it with some red jeans with big white buttons on the front and *hopefully* yellow shoes to complete his Mickey Mouse outfit. I want him to wear Mickey ears but I don’t have high hopes for those staying on his head for very long.

Stay tuned for Linnea’s Frozen party posts, too! I’m going to be making her an Elsa cape and a tulle tutu skirt in Elsa colors.

Until next time!


Adventures of Potty Training

There are so many things I’ve learned in being a mother these past three years. I remember when I was young I wanted to be a mom, stay home, home school, and be awesome at all of it. After all, I watched my mom do all those things and she made it look so easy.

Now that I have become a mom myself, I can tell you that I am surprised at how difficult parenting can be. From the beginning (literally) my kids have kicked my butt. Horrid morning sickness where I lost over 20lbs in the first trimester alone, to an extremely colicky newborn and not knowing what colic even meant, to being on bed rest while pregnant with my son, to having two babies under two years old, unknown skin problems on my son that went on for months, and now on to potty training.

If you’ve noticed the lack of posts lately it has been due to potty training my almost 3 year old. I’ve read so many tips and advice on how to do it. Apparently, when I read “the first few days are very difficult,” I don’t pay attention. It is REALLY hard. The accidents, trying to pick up on my daughter’s cues, the hoping-this-carpet-cleaner-is-safe-on-my-couch, and having her sit on the potty for almost a half hour with no results only to have her pee down her leg minutes after she gets off. *sigh*

As much as I don’t want to do any of this I certainly don’t want to have two kids in diapers even more. That is my motivation. The thought of eventually one child in diapers. The money saving. The eventual convenience of once she “gets” it.

So until this potty training calms down a bit I will be posting a little less but I wanted to let you know why. I will later do a post on things that worked or didn’t work for her…it won’t have any new revelations, I’m sure. No way to reinvent the wheel of getting a toddler to use the bathroom. 😉

Now, off to ask “do you need to go potty” a thousand times more today.

Custom Sheets: A Brief Tutorial

For my son’s future Dallas Cowboys bedroom I was trying to think of ways to add the Cowboys without it being cheesy or costing an arm and a leg. NFL merchandise can be extremely expensive. It’s ridiculous. Our family with sport a lot more of their things if they were more affordable.

Anyways, I thought his bed was a good opportunity to add something fun. I ran off to Joann’s fabric store and found their team fabrics were on sale, so I bought two yards of navy blue Cowboys fabric with their logo (the star), and their name all over it. (Personal note, I should’ve bough some navy thread. I thought I had some but I did not. Phooey.)

You will want to measure the mattress you will be making the sheet for because some mattresses can be thicker or thinner than others. With crib sheets they need to be very tight (especially for babies, not quite as much for toddlers).

How to measure:
1. Get a measuring tape of some form, and measure how long and wide the TOP of the mattress is. Just the flat part.
2. Measure how deep the mattress is. The vertical part.
3. Add the “deep” length to the “top” sizes.
4. Now add an extra 2 inches or so. This will be so you can hem the edges but still have enough to hide the hem lines under the mattress.

Now that you have your measurements, get your fabric and trim it to fit the size you need. Pretty easy so far.

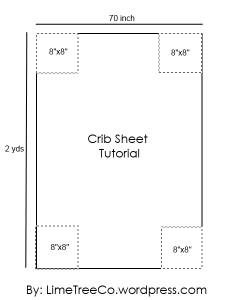
Lay your fabric out flat and cut an 8 inch by 8 inch square off of each corner. Here’s a basic diagram I made to give you a visual.

Crib sheet tutorial

See the dotted line corners? Cut those out. (Note: This diagram is not to scale.) I kept the corner squares and made this bow out of the scraps. Waste not!

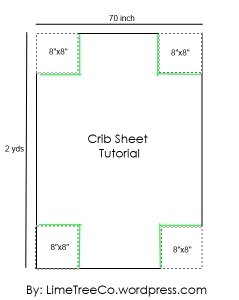
Now, sew the “dotted line” sides that are still left, seen below in the green lines. These will be the corner pockets. If you have a serger, serge the edges. I just did a straight stitch then followed after with a zig zag stitch for strength.

Crib sheet tutorial 2Next, iron and fold over your edges to make your hems. I sewed this up all in one big line.

Now get your elastic. I used 3/8″. I’ve seen some sheets with elastic all around the entire sheet but I didn’t have enough for that. I cut four 12 inch pieces of elastic. I then pinned them to the corners of my “pockets.” When you pin, make sure you stretch out the elastic as far as you can. It’ll bunch up the fabric and look strange but this is GOOD.

Start sewing! Make sure you stretch the elastic, again, as you sew. And use a long stitch so the elastic can work it’s magic. It’s awkward to sew the elastic but this is how the sheet will hang on to your mattress.

Repeat this for the three remaining corners.

And there you have it! Your own crib sheet in a custom print of your choice. Stores are extremely limited on the fabrics they have for sheets. This is a spendier way to get sheets, but when you factor in NFL prices then this was dirt cheap. I couldn’t find any crib sheets. Especially ones that didn’t have bumpers and blankets and all those extras that I didn’t want. Plus, those sets are $100+ and that’s insane (to me).

Here’s my son when I first put the sheet on his bed.

image

imageHe approves!

You can use this same method for larger sized beds but you will have a seam on the top of the bed. Some might not care about that, some might be bothered. It’s something to take note of.

Starbucks at Home – Passion Tea Lemonade

I love Starbucks’ passion tea lemonades. I craved those while pregnant with my first. I loved them even without the lemonade, too. They’re just so summery and delicious!

But, with all the hype of Starbucks’ prices going up I thought I’d share how to get the refreshing favorite of mine at home and for a fraction of the cost!

Here’s what you need:
Passion tea by Tazo – make sure it’s the blue box with the ice cubes on the front.
A can of lemonade concentrate
Large pitcher

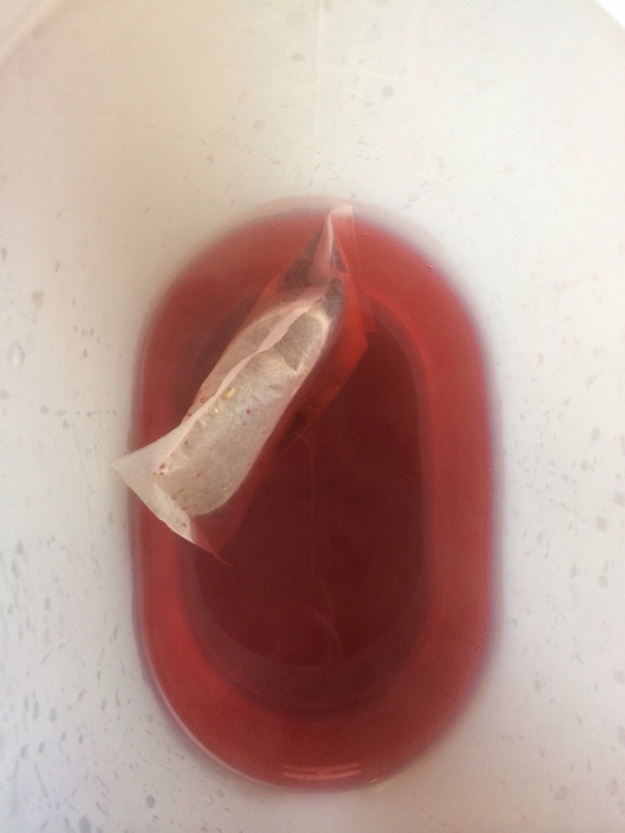
Start by making your tea. I used one tea bag and added about 2 quarts of almost boiling water (because I’m impatient), let steep as the directions say.

20140626-114633-42393523.jpg

Once it’s nice and dark pink I took the tea bag out and added some ice to speed up the cooling process. I didn’t use an exact amount, but I added about this much.

20140626-114104-42064166.jpg
Obviously from that picture, it had all melted already.

Then, add your lemonade concentrate. I made sure it had somewhat thawed so I could mix it up faster. I then added a few cans of water as if I was making regular lemonade, but make sure you account the ice cubes i added earlier. This filled up my not-so-pretty pitcher to the top, making about a gallon.

Stir, pour over ice, and enjoy!

20140626-114526-42326314.jpg

You can also use lemonade from a bottle, like Minute Maid or Simply Lemonade. The concentrate was cheaper.

And please note if you like this to taste sweeter just don’t add as much water. Taste it as you make it until you find the right flavor you’re looking for. My version isn’t very sweet so I’m going to try less water next time.

Monday Pick Me Up

This week’s Pick Me Up doesn’t require much explanation. Mainly because it leaves me somewhat speechless.

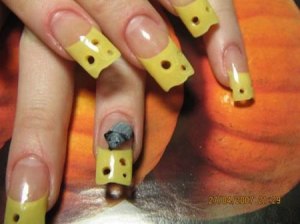
Cheese-Nails

I just. What. This is so bad and so gross but I can’t help but laugh!

I wonder what the nail technician was thinking when she was asked to do this. I actually hope this person did this themselves or as a joke. Wow. Cheese nails.

Girly-Girl Room

Me being the decorator that I am asked for my husband’s input on decorating ideas he might have. I don’t want to decorate 100% for me and ignore his likes and wants. Plus, it’s more of a challenge to try and mix our tastes. Adds interest to the room and can make us both happy? Sure!

So I asked what he thought we should do for our kids’ rooms. For my daughter he requested that it be girly for her. I wanted to to a feminine woodland theme but that’s already sounding too “nursery” and not enough “kid room.” So I agree with my husband. Give up the woodland and go girly. This alone is a stretch for me because I was a big tomboy when I was little. Hated dolls and Barbie, loved toy horses, Littlest Pet Shops, stuffed animals, and “playing puppies.” Now I need to switch gears and think: What would Linnea like?

Right now, she loves all sparkly, princess, glittery, pretty, beautiful things. These are key words I hear from her every day. “Pretty sparkly purple shoes!” “Look at my pretty pink toes!” “I want my beautiful pink sparkly dress.” “I’m Princess Linnea!”

If you had told me I would have a daughter like this when I was younger I would’ve laughed and said no way. But, here I am, and I absolutely adore the girly side of my daughter. It’s the sweetest thing to see HER personality grow, her opinion (as strong as those 2-3 year old opinions can be!), what SHE enjoys. It’s so fun. She loves to get all dressed up then go play with a stick and in the dirt with her brother.

Here are some pictures of inspiration I have for her room. Let me know what you think!

Image

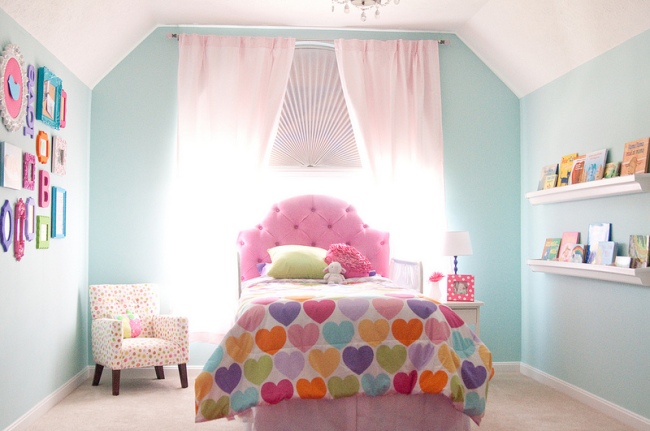
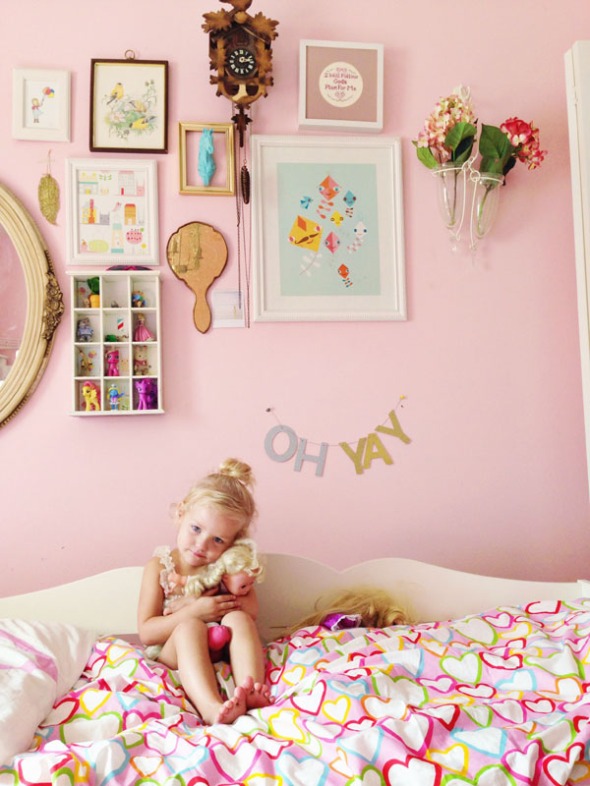
This is my favorite concept picture, from here. (But I recently visited Ikea and found the heart bed spread there but it is not on their website. I’m so glad I now know that! The duvet cover is only $14.99 for a twin size.)

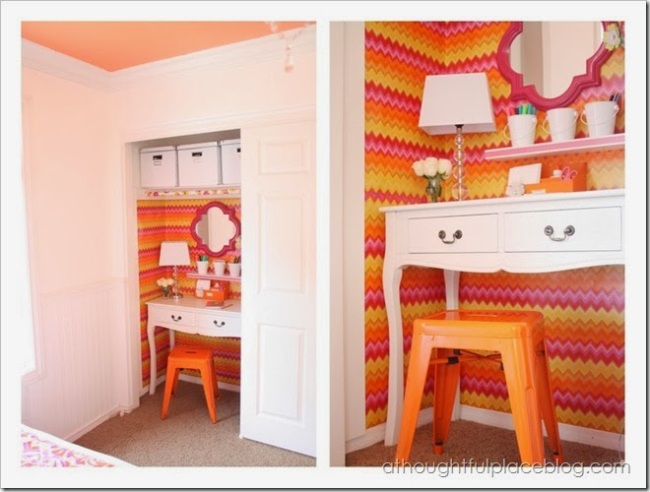
ImageI love the fun pattern inside the closet in bold colors from here. A different color palette and pattern, but the same idea.

Image I like the bright bed spread, the pink headboard, and the colorful frames, here.

Linnea likes BRIGHT and FUN things so I am hoping I can make her bedroom reflect her. It would be ideal to decorate her room around the time we take the side of her crib off to make it the Big Girl Room transition.

To Do:
-Paint walls a light pink.
-Hang curtain rods.
-Get misc frames and paint them happy colors.
-New bedding.
-Possibly a canopy or “mobile” made from paper to look like a chandelier.
-Rug.

This will all, of course, be updated as I accomplish it. I’ll share fabrics and color swatches and all that good fun. I can’t wait to get started and give her a room she’ll love!